
Building a Deck: A Basic Guide from Start to Finish
The weather is getting warmer here in Langley, BC. Do you know what that means? Deck Season!
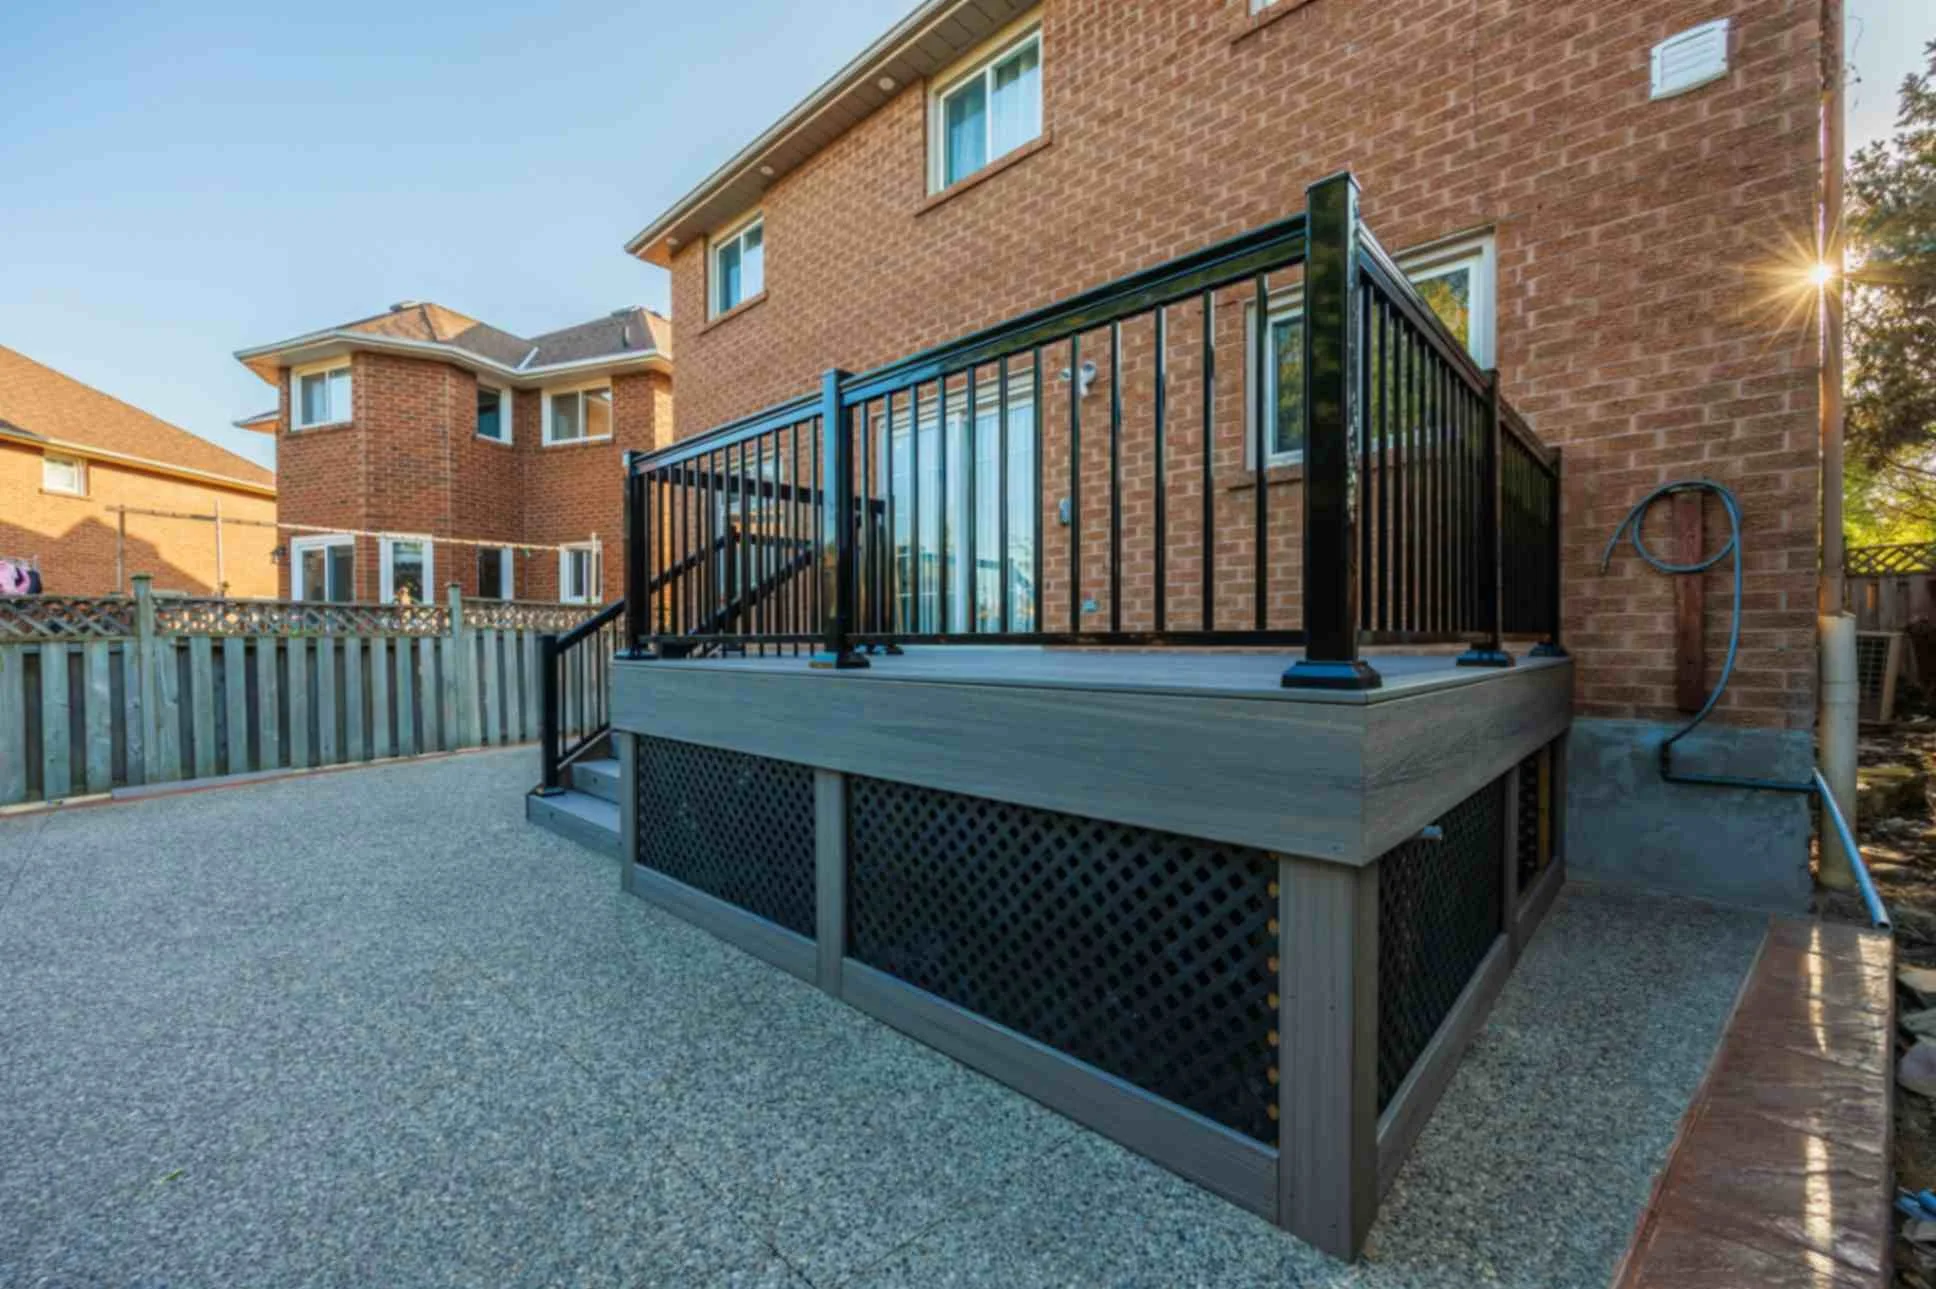
A well-built deck can enhance the functionality and aesthetic appeal of your home while increasing its value. Whether you're looking for a relaxing outdoor retreat or an entertainment space for friends and family, building a deck is a rewarding project. This guide will walk you through the process from start to finish, covering material options, stains, and what to expect during the construction process.

Planning Your Deck
Determine the Purpose
Before you start building, consider how you intend to use your deck. Will it be for dining, lounging, grilling, or all of the above? This will influence its size, shape, and features.
Check Local Codes and Permits
Most areas require permits for building decks. Check with your local building authority to ensure your plans comply with zoning laws, building codes, and HOA regulations.
Design and Layout
Use graph paper or deck design software to sketch your plan. Consider factors such as:
Size and shape
Stairs and railings
Built-in seating or planters
Lighting and electrical needs
Access to the house and yard
Choose Your Materials
The materials you select will impact your deck’s appearance, maintenance requirements, and longevity.

Wood Options:
Pressure-Treated Lumber: Affordable and widely available, pressure-treated wood resists rot and insects but requires regular maintenance.
Cedar and Redwood: Naturally resistant to decay, these woods offer a beautiful, warm aesthetic but can be costly.
Hardwoods (Ipe, Mahogany, Tigerwood): Extremely durable and resistant to wear but require specialized tools and higher costs.
Composite and PVC Decking:
Composite Decking (Trex, TimberTech, Fiberon): Made from wood fibers and plastic, composite decking is low-maintenance and long-lasting.
PVC Decking: Fully synthetic, resistant to moisture and insects, and available in various colors and textures.
Alternative Options:
Aluminum Decking: Durable, slip-resistant, and fireproof, but has a modern appearance that may not suit every home.
Concrete or Paver Decking: Ideal for ground-level patios, providing longevity and minimal upkeep.
Hiring the right team for the job
Finding a local company that can bring your vision to life can take time but is not impossible! Asking the right questions and ensuring that you understand the building process is important in being satisfied with the end result. Ask for examples of previous decks that they built to get ideas and see examples of their work.
Here is a general list of materials they might use during the process:
Decking boards
Pressure-treated posts and framing lumber
Concrete for footings
Galvanized screws and nails
Joist hangers
Post brackets
Railings and balusters
Building the Deck
Below is a break down of what to expect during the building process. (Please note that this is not a comprehensive guide to building your own deck. Consult a professional when building your own deck, or hire a qualified professional to ensure quality and safety.)
1. Preparing the Site
Clear the area of vegetation and debris. This is helpful to have this completed before the project begins.
Mark out the deck’s dimensions with stakes and string. If you need assistance with this, wait for your contractor to arrive.
Use a level to ensure an even base.
2. Installing Footings and Posts
Your contractor will dig post holes below the frost line (typically 30-36 inches deep).
Next, they pour concrete into the holes and set post brackets before it hardens.
They will then place pressure-treated posts in the brackets and secure them.
3. Constructing the Frame
They will attach ledger board to the house with lag screws (and will ensure proper flashing to prevent water damage).
Next, they install beams and support posts using galvanized connectors.
Joists are spaced evenly (typically 16” on center) and secured with joist hangers.
Blocking is added between joists for extra stability.
4. Installing Decking Boards
They will begin laying decking boards perpendicular to the joists.
A small gap (1/8” to 1/4”) will be left between boards for drainage.
Hidden fasteners or deck screws will be used for a clean finish.
They will then trim excess board length once installation is complete.
5. Adding Railings and Stairs
Posts at corners and stair openings get installed
Top and bottom rails are attached, then secure balusters or spindles.
Stairs with stringers are built and treads are securely attached.
6. Finishing Touches
Rough edges will get sanded down to ensure a smooth surface
Skirting or lattice can be installed for a polished look if desired
Post caps and lighting can now be added for safety and ambiance.
Choosing and Applying a Deck Stain
Deck stain is not just for looks. It can protect the surface and seal out moisture to prevent rot or discolouration. To determine which stain is best for your project, be sure to research online and consult a professional.
Types of Deck Finishes:
Clear Sealers: Offer minimal color change while protecting against moisture.
Semi-Transparent Stains: Enhance the wood grain while adding color.
Solid Stains: Provide a paint-like finish, covering imperfections.

Application Tips:
Ensure the deck is clean and dry before applying stain.
Use a roller, brush, or sprayer for even coverage.
Apply stain in the direction of the wood grain.
Allow adequate drying time before using the deck.
Maintaining Your Deck
Regular Maintenance Tasks:
Sweep debris regularly to prevent mold growth.
Wash with a mild detergent or deck cleaner.
Reapply stain or sealant every 2-3 years.
Inspect for loose boards, nails, or structural damage.
Final Thoughts
Building a deck requires planning, precision, and effort, but the result is a beautiful outdoor space that can be enjoyed for years to come. Whether you opt for natural wood, composite, or alternative materials, proper installation and maintenance will ensure your deck remains a valuable addition to your home. So gather your tools, roll up your sleeves, and start building your dream deck today!
📍 Serving Langley, Surrey, Cloverdale, Aldergrove, Abbotsford and beyond.
📞 604-409-8241
📧 admin@oakhavenltd.com
🌐 https://www.oakhavenltd.com/
Follow us on Instagram & Facebook through the links below for more transformations and renovation inspiration across Langley!