
How to Prep Your Walls for Painting

A fresh coat of paint can completely transform a room, but the real magic happens long before the roller touches the wall. Proper prep work is the difference between a smooth, professional finish and a paint job that highlights every imperfection. Many homeowners underestimate how much preparation goes into painting. The truth is that the better the prep, the better the final result.
Good wall preparation helps paint adhere properly, look cleaner, and last longer. Here is how to get your walls ready the right way.
Start by Cleaning the Walls
Dust, oils, and everyday buildup can prevent paint from sticking. Before doing anything else, wipe down the walls with a damp cloth, mild soap, or a gentle cleaning solution. High traffic areas, kitchens, and bathrooms often have more residue and may need extra attention.
A clean surface gives the paint a proper base and prevents adhesion issues later.
Repair Dents, Cracks, and Holes
Even well-maintained homes have imperfections. Nail holes, tiny dents, and fine cracks should all be repaired before painting. Use a quality patching compound or spackle to fill each area, then smooth it with a putty knife.
For larger cracks, apply mesh tape to reinforce the repair and prevent the crack from reappearing under the new paint. Allow all patched areas to dry completely before moving on.
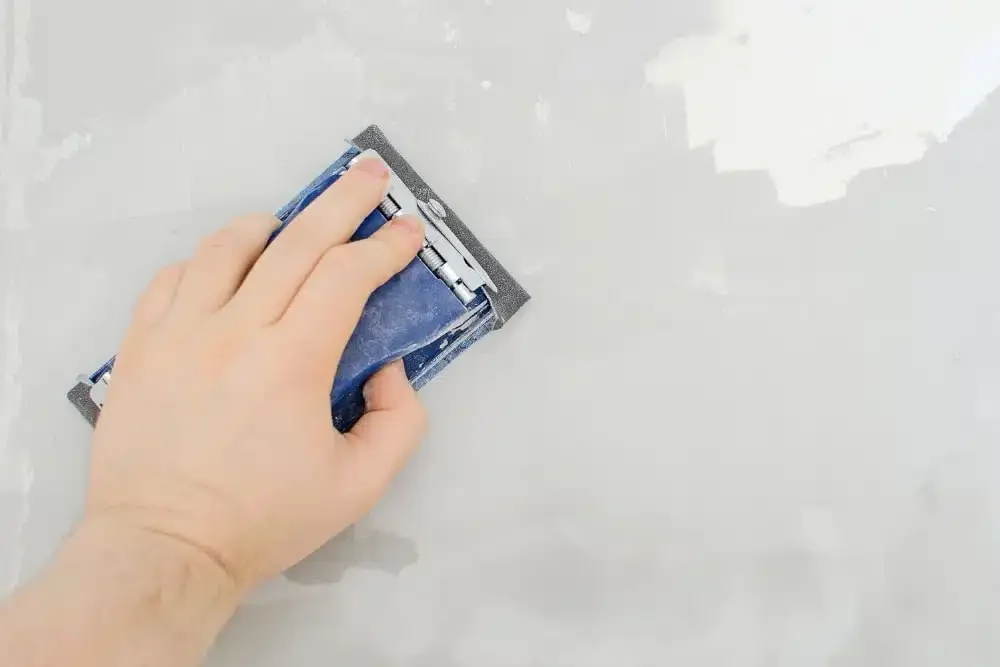
Sand for a Smooth, Even Surface
Sanding is one of the most important and often overlooked steps. It smooths patched areas, removes bumps or texture, and creates a slightly rough surface that helps paint adhere.
Use fine-grit sandpaper and lightly sand the repaired sections, as well as any shiny or uneven areas. You do not need to sand the entire wall aggressively, just enough to ensure a consistent finish.
Always wipe the wall afterwards to remove leftover dust.
Remove Loose or Flaking Paint
If you are repainting older walls, inspect them for peeling or flaking paint. Scrape away loose areas and sand the edges so they blend into the surrounding surface. Painting over peeling paint will lead to uneven texture, early chipping, and a shorter lifespan for your new finish.
Taking the time to fix it now prevents expensive touch-ups later.
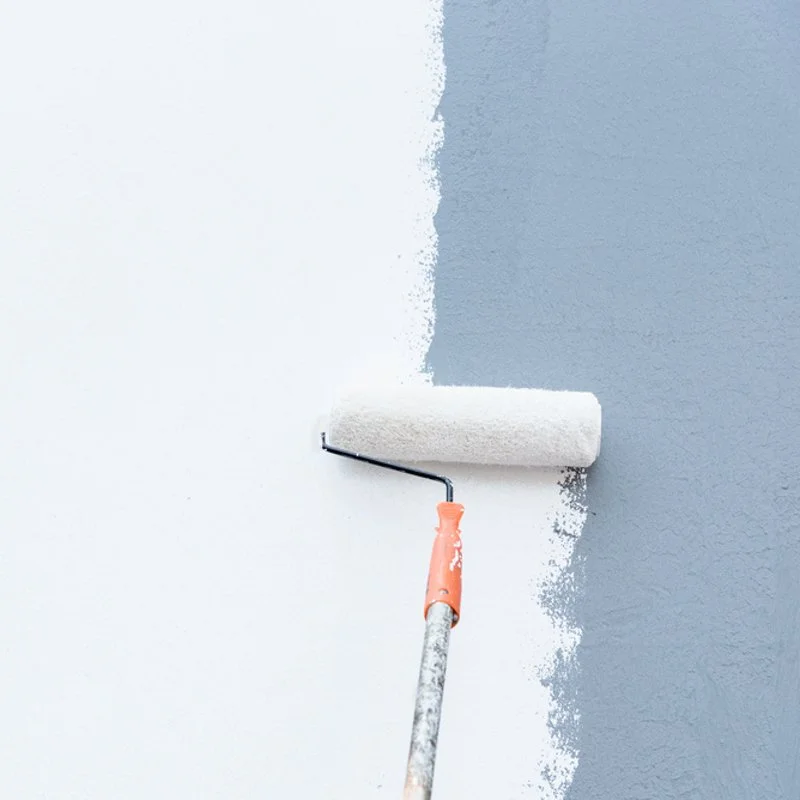
Prime When Necessary
Not every wall needs a primer, but many do. Primer is essential if:
• You are covering a dark or bold colour
• There are multiple repaired areas
• The surface is stained or watermarked
• The walls are glossy
• You are switching from oil-based to latex paint
Primer creates a uniform base that improves adhesion and gives your topcoat an even, long-lasting finish.
Protect Floors, Trim, and Fixtures
Before painting, protect floors with drop cloths, cover furniture, and tape off trim, windows, outlets, and fixtures. This step prevents splatters and creates sharp, clean lines. Proper protection speeds up the painting process and eliminates unnecessary cleanup.
Take Your Time for a Professional Finish
Painting may look simple, but meticulous preparation is what separates a professional result from a rushed one. Cleaning, patching, sanding, priming, and protecting surrounding areas are all crucial steps that ensure your final coat goes on smoothly and stands the test of time.
If you are planning a painting project and want a flawless finish, Oakhaven Properties in Langley, BC, can help with everything from surface preparation to full interior repainting. Save this guide or reach out when you are ready to get started.